Metafield Setup — Sales Rep, Specs, Documents & More
Vertex reads a small set of optional metafields in the vertex namespace to power the extras a technical catalog needs — the sales-rep card, the technical-specs table, the documents-and-downloads block, MPN and GTIN, the ships-from line, and the price-history disclosure.
You only set up the ones you actually want. Every metafield is optional — if it's empty, the matching storefront component simply doesn't render. No broken layout, no placeholder, no error.
A couple of these blocks also have an on/off switch in Customize ▸ Theme settings ▸ B2B — Show price history on PDP, Show 'Ships from' on PDP (plus its Default 'Ships from' location), and Show 'Documents & downloads' on PDP. The metafields below supply the content; those toggles decide whether the block is allowed to show at all.
How metafields work in Vertex
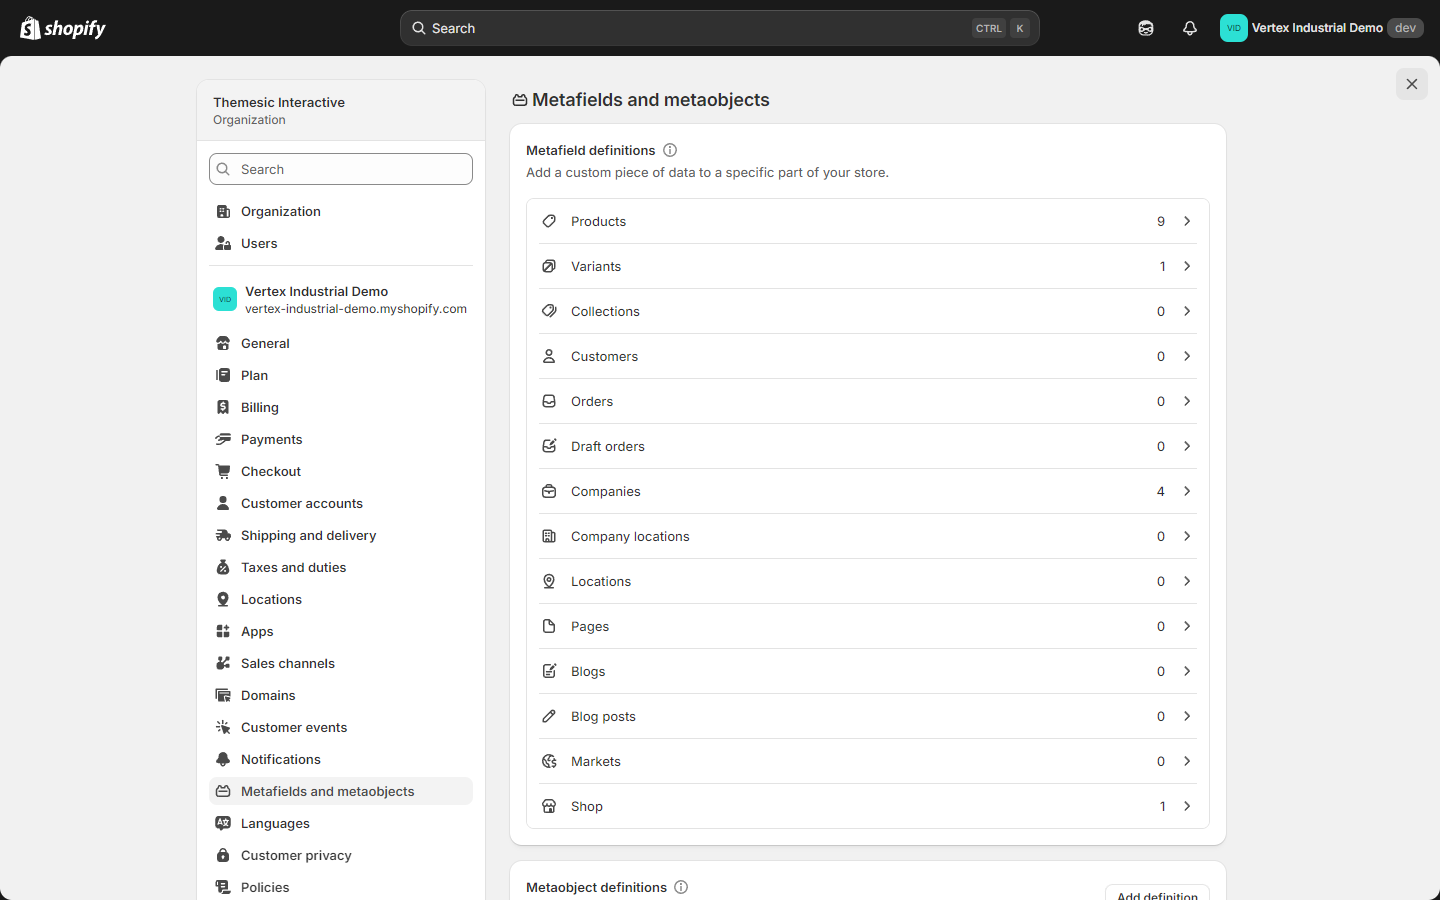
All the values in this guide are stored as Shopify metafields — structured custom fields attached to a product or a company. You define each one once under Settings ▸ Custom data, and then fill it in per product (or per company) like any other field.
There are two places you'll work:
- Define the field once — Settings ▸ Custom data ▸ Products (or Companies) ▸ Add definition. This creates the field so it shows up on every product/company.
- Fill it in per item — open a product (or company) ▸ scroll to the Metafields area ▸ enter the value.
Use the exact namespace and key listed for each field below (for example vertex.mpn). The namespace must be vertex for Vertex to read it.
Once a definition exists, you can fill values in bulk from Products ▸ select rows ▸ Edit products ▸ add the metafield column, or via a CSV import / the Shopify Admin API. You only need to create each definition once.
Sales rep contact card
The sales rep card surfaces a named account manager on every B2B touchpoint — a pill in the desktop header, a full card at the bottom of the mobile drawer, and a card on the customer account dashboard.
The rep is set per company (not per product, and not as a theme setting), so each company can have its own rep.
Where to set it: Customers ▸ Companies ▸ [company] ▸ Metafields — using these company metafields:
| Metafield (namespace.key) | Type | Example | Notes |
|---|---|---|---|
vertex.rep_name | Single-line text | Sarah Chen | Triggers the rep card to render. |
vertex.rep_email | Single-line text | [email protected] | Renders as a click-to-email button. |
vertex.rep_phone | Single-line text | +1-555-0142 | Renders as a click-to-call button. E.164 format preferred. |
The card renders only when vertex.rep_name is filled and the buyer is signed in to that company and Storefront mode isn't B2C-only. The avatar shows the rep's first initial — there is no rep-photo or rep-title field.
Because the rep lives on the company record, buyers attached to different companies automatically see different reps. Set it once per company.
Ships-from location
Show buyers which warehouse or fulfillment center a product ships from — useful for distributors with multiple regional warehouses.
This one is a mix of a theme setting (the default + the on/off toggle) and an optional per-product metafield (the override):
- Theme-wide default + toggle — Customize ▸ Theme settings ▸ B2B: turn on Show 'Ships from' on PDP, and set Default 'Ships from' location (e.g. Cleveland, OH). The default renders under every product title.
- Per-product override — set the
vertex.ships_fromproduct metafield (single-line text, e.g. Atlanta, GA) on any product that ships from a different warehouse.
| Where | Value | Example |
|---|---|---|
| Theme setting: Default 'Ships from' location | storefront-wide default | Cleveland, OH |
Product metafield: vertex.ships_from | per-product override | Atlanta, GA |
Leave the default blank (and the metafield empty) to hide the line on products that have no specific location.
Manufacturer Part Number (MPN)
The MPN — the OEM part number — is the #1 search vector for industrial buyers. Procurement teams almost always have a part number in hand before they search, so populating MPN dramatically lifts your search hit-rate.
Where to set it: the vertex.mpn product metafield (single-line text).
| Metafield | Example |
|---|---|
vertex.mpn | DWE357K |
The MPN renders in the product-page header and is matched by Vertex's predictive search — so buyers can paste a competitor's MPN and still find your product.
If you fill nothing else, fill MPN. Procurement teams search by part number first; everything else is secondary.
GTIN for Google Merchant Center
The GTIN (Global Trade Item Number) makes your products eligible for richer Google Shopping previews and improves Merchant Center match rates.
Where to set it: the vertex.gtin product metafield (single-line text). Vertex already emits the variant barcode as the GTIN in structured data, so set this only when you want to publish a different public-facing GTIN.
| Metafield | Example |
|---|---|
vertex.gtin | 0885911234567 |
Product specs table
Show buyers a clean two-column technical-specifications table on the product page — chuck capacity, voltage, weight, dimensions — whatever your buyers compare across products.
Where to set it: the vertex.tech_specs product metafield. This is a list of "spec" entries, where each entry has a label, a value, and an optional unit.
| Entry field | Example |
|---|---|
label | Chuck capacity |
value | 13 |
unit (optional) | mm |
Example — an industrial drill's specs:
| Label | Value | Unit |
|---|---|---|
| Chuck capacity | 13 | mm |
| Maximum torque | 65 | Nm |
| No-load speed | 0–2,100 | rpm |
| Battery voltage | 18 | V |
| Weight (with battery) | 1.8 | kg |
The product page renders these as a clean two-column Technical specifications table. The block auto-hides when the metafield is empty.
Earlier drafts of this guide referenced a tech_spec_row metaobject. Vertex does not use a metaobject for specs — it reads the single vertex.tech_specs list metafield described above.
Documents and downloads
Attach PDFs to a product — datasheets, MSDS, brochures, tech sheets, installation guides, warranty cards — and Vertex renders them as a tidy Documents block on the product page.
Where to set them: one file-reference product metafield per document type. Turn the block on with Theme settings ▸ B2B ▸ Show 'Documents & downloads' on PDP.
| Metafield | Button label | Typical use |
|---|---|---|
vertex.datasheet | Datasheet | Standard product datasheet. |
vertex.msds | MSDS | Material Safety Data Sheet — required for many chemicals, lubricants, solvents, aerosols. |
vertex.brochure | Brochure | Sales brochure. |
vertex.tech_sheet | Tech sheet | Standalone technical sheet. |
vertex.install_guide | Install guide | Installation or assembly guide. |
vertex.warranty | Warranty | Warranty card. |
If a product has none of these metafields filled, the entire Documents block is suppressed — no empty header, no placeholder. The instant you upload one PDF, the block appears with that one button.
You can also list certifications (ISO, UL, CE, etc.) with the vertex.certifications list metafield; they render as badges on the product page.
Price history disclosure
If you operate in markets with price-disclosure regulations (the EU Omnibus directive, for example), or you simply want to show transparency-conscious buyers how a price has trended, Vertex can render a collapsible price-history block on the product page.
Where to set it: the vertex.price_history product metafield — a list where each entry has a date and a price. Turn the block on with Theme settings ▸ B2B ▸ Show price history on PDP.
| Date | Price |
|---|---|
| 2025-01-15 | 14.50 |
| 2025-03-22 | 13.80 |
| 2025-09-04 | 12.32 |
Leave the metafield empty to hide the block.
NET-terms badge wording
The NET-terms badge that appears in the B2B greeting bar (and on the account and order screens) is driven by a company metafield, not by Shopify's native payment-term name and not by a theme setting.
Where to set it: the vertex.payment_terms company metafield (single-line text).
| Metafield | Example |
|---|---|
vertex.payment_terms | NET 30 — or custom wording like NET 30 — Pay by invoice |
Leave it blank and no NET-terms badge renders for that company.
Setting up real deferred-payment checkout terms (so the company can actually pay by invoice) is done in Customers ▸ Companies ▸ [company] ▸ Payment terms — see the B2B setup guide. The vertex.payment_terms metafield above is purely the label Vertex shows in the chrome; the two are independent, so set both.
What does NOT need a metafield
The following data is already native to Shopify B2B and does not need anything in the vertex namespace:
| Data | Where it comes from |
|---|---|
| B2B price and volume tiers | Catalog price list |
| Quantity rules (MOQ, max, increment) | Catalog quantity rules |
| Company name and locations | Native Shopify company record |
| Tax-exempt status | Company-level tax setting |
| Order history (for reorder) | Native Shopify orders |
| Spending limit progress | vertex.spending_limit on the company location (optional) |
Vertex reads these directly from Shopify. The metafields in this guide fill only the gaps where Shopify has no native equivalent — like sales-rep contacts, technical docs, specs, and per-product ships-from labels.
Verifying your setup
Open a product in the storefront and walk through this checklist:
- MPN shows in the product-page header.
- "Ships from [city]" shows under the product title.
- Documents block renders with one button per PDF you uploaded.
- Specs table renders with all the rows you added.
- Price history block (if filled) appears as a collapsible card below the price.
Then sign in to the storefront as a B2B buyer in a test company to verify the rep card:
- Sales rep pill renders in the desktop header (≥1170px).
- Email button opens your mail client with the rep's address pre-filled.
- Phone button triggers a call on mobile.
- Mobile drawer (<1170px) shows the rep card at the bottom.
- Account dashboard shows the full rep card.
What's next
- B2B setup guide → — Enable native B2B end-to-end so the rep card and B2B chrome have somewhere to attach.
- Storefront modes guide → — Pick how B2B-driven UI surfaces in your storefront.
- Theme settings reference → — The product-page toggles that pair with these metafields.
- FAQ + troubleshooting → — Top setting-related questions answered.